Tuesday, 29 July 2014

Moo Mania - #66 - Anything Goes

Just as well the theme this time is Anything Goes! I very nearly missed the closing time but the simple theme helped me to squeeeeze this Moo in.

I am not usually known for using glitter but this time I fancied adding a bit of sparkle. I used glitter and a pearl embossing powder. The stamps are from Visible Image, and I used the flower from the Thank You set.

Not the best photo I have ever taken but there seems to be a problem with the flash tonight, either that or the glitter is bouncing the light around too much!


I really would love to stop and chat but I have a million and one things to do! Hope you like my Moo and I look forward to the next theme. I don't have long to wait now.

See you soon! Kim x


Monday, 28 July 2014

Monday Make with Creative Expressions

If you don't like Mondays then maybe this little card I made using Cosmic Shimmer Sparkle texture paste will bring a little shine to your day! Well, when I say a little I actually think you will find there is rather a lot!

It has been a very busy week in St Dogmaels. It was Carnival Week and boy were there a lot of things going on. My priority for my very first week as a member of the village community was to make sure my house was suitably decorated. So I made bunting! What do you think? Just one row this year along the garage wall. 

Home made fabric bunting 

I am quite pleased with the result but I intend to make more for the next village event which is in September, the Village Show. It is the sort of show that has competitions for the best jam, best runner bean, longest carrot, etc. 

Anyway, on to my Creative Expressions make for today, sorry to ramble, but it is what I do best!!


I tried to get a photo of just how glittery this Cosmic Shimmer Sparkle Texture paste is but the flash proved too intense. Here is a snippet just to give you an idea of the sheer glittery-ness of it. 

I used a group of colours to do the main stencil image, Vivid Violet, Lavender Mist and Rich Plum. The mask I used was Flower Garden. Tape the mask onto the card with low tack tape. Make sure it is flat to the card.

It was simply a case of spreading the glittery paste on to the stencil with a palette knife. I used a 'blob' (technical term) of each colour rather than using one colour only. Any excess can be scraped back into the pot or, if you are mixing like I was, then scrape the excess into a separate pot. Nothing is wasted. The mask was then removed. Take the mask off as carefully as possible so as not to drag any of the paste. Allow to dry. Patience is not my strong point but I did my paste spreading the day before so I knew it would be 100% dry. Nothing worse than finding a tacky bit because you haven't waited long enough for it to dry! I would say that a minimum of 4 hours depending on the air conditions.

I had used white card as my base but fancied colouring this up a bit so used a couple of Cosmic Shimmer Ink Spray Misters in Grape Crush and Paradise Pink. I dabbed off the excess ink mainly because I wanted to get on with the project, but also to add some interest to the background, It gave a subtle marble effect.


Then on to some fussy cutting, This particular image was good for this as there were only 2 places where the cutting wouldn't work and I used those places to sit the ribbon in! I spritzed the ribbon with the inks to match. The feature was then mounted onto a card blank and a tag made using an off cut and one of the sentiment stamps.

You could easily make a card topper with just the mask and glitter paste but I couldn't resist some fussy cutting and ribbon adornment!


Simple card using only the mask and pastes.

Right, I need to crack on. Would you believe I STILL have boxes to unpack! Makes you wonder whether the things still in the boxes are actually things I need? 

Have a great week and see you again next Monday for another adventure with Creative Expressions.

Kim 


Friday, 25 July 2014

The Friday Feature with Visible Image

Hello from St Dogmaels! Boy has it been hot these last few days, even late into the night the temperature on the balcony has been over 80. Swimming helps but only for a short while. Pity I can't craft on the beach! 

This week has been very exciting at Visible Image with the launch of a fantastic new range of stamps. Did you see them yet? I won't mind if you pop over there now for a look, but please remember to come back! 

Oh good, you're back. It would be very tempting to show you one of my projects using the new stamps but after a week of working with the new stamps I really fancied getting stuck in to a project I had been thinking about for a while.

Way back at the beginning of the year I was given a set of stamps to work with which featured a castle and the wording 'Once Upon a Time' and 'Happily ever After'. I always wanted to do something like a book, you know the ones with the fancy spines and the gold decoration? Well, I spotted a little paper mache book shaped box in my craft shop which was perfect for the job!


I used gold embossing powder for the stamps and gold gilding wax for the embossed card. What do you think? I was really pleased that the wording fitted exactly on the spines of the 2 'books'.


What is nice about the stamps that Visible Image produce is they are made of top grade photo polymer which is deeply etched and produces a great image every time. They are clear so you can get things lined up nicely. Mark, who designs the stamps, won't cut any corners when it comes to quality and function. Helen, the marketing Guru, does a brilliant job keeping the office side of thing s going. Between them they run a really tight ship and keep their customers happy with quick order filling and great media contact.

Here is the stamp set I used, a lovely big fairytale castle and some great Gothic style words. As always click the image to link to the online shop.


visible image stamps Once upon a time

Bit of a quick blog today as I still have some unpacking to do and I absolutely have to make some curtains for the bedroom! Lucky the window isn't overlooked, but I do spook myself sometimes with thoughts of faces at the windows in the middle of the night............

Right, that is your lot today I'm afraid! I am certain times goes quicker here! So much to do and so little time to do it!

Check out the Visible Image Facebook page and why not take part in the monthly challenge? Win yourself some Visible Image stamps.

See you next Friday. Kim


Monday, 21 July 2014

Monday Make with Creative Expressions - Lighthouse Box

Hello from Sunny St Dogmaels! Hope you don't mind me showing you a shot of me relaxing on the beach? Even us devoted crafters need some time away from our ink pads you know and I am lucky to have a beach as my venue for some 'time out'.  I am getting back into the swing of things now, my diary is filling up with things to do and my blog habit is returning! This seaside living is really suiting me. Maybe that is why my projects are all a little bit nautical at the moment. They might feature the same images but they are quite different in look and design. 

Hasn't it been hot these last few days? I do hope the thunder storms didn't affect you too much? Down here in Pembrokeshire we barely had any rain and unless I was unconscious, we didn't get any thunder storms either. Pity, as I was looking forward to a trip to the beach to watch the storm!

I wanted to do something 3 dimensional this week for my Monday Make with Creative Expressions products. You already know I have a penchant for boxes. I made sure before I moved that I stocked up on boxes to decorate; new ones, charity shop finds, car boot treasure etc, just in case I couldn't source enough boxes to work with. 

I decided to use a new wooden box for this project and started by removing the hinges and 'lock' to make decorating it easier. I then gave it a coat of white Gesso to prime it. The finished look I wanted wasn't smooth and sanded so I wasn't too careful about how I applied the Gesso. To be honest the rougher the better especially for the sides and a rough brush helped to give extra texture. I allowed this to dry completely.


Next I added some fibrous ribbon. Now I have had this 'ribbon' for years, I have no idea where I got it from but as an alternative you could use any textured ribbon, narrow strips of hessian, twine, or even strips of textured paper you have put through an embossing folder. It doesn't matter what colour of 'ribbon' you use as it is going to get painted anyway. I also put a row around the sides on the bottom half of the box. Then paint the ribbon. This covers any glue that may have oozed out.


I then went on to colour the box in various places with a selection of colours using dry brushes. I picked up the colour from the Tim Holtz Distress ink pads and lightly brushed colour on until I was happy with the result. Any areas that you are unhappy with can simply be painted again and re-coloured. I used Faded JeansWeathered Wood and a touch of Vintage Photo.


I then created the top panel using a piece of denim blue coloured card and Gesso. Using a very dry brush I swiped Gesso across the card to give the effect of white wash. Once this was dried I cut it to fit the top panel on the lid of the box.


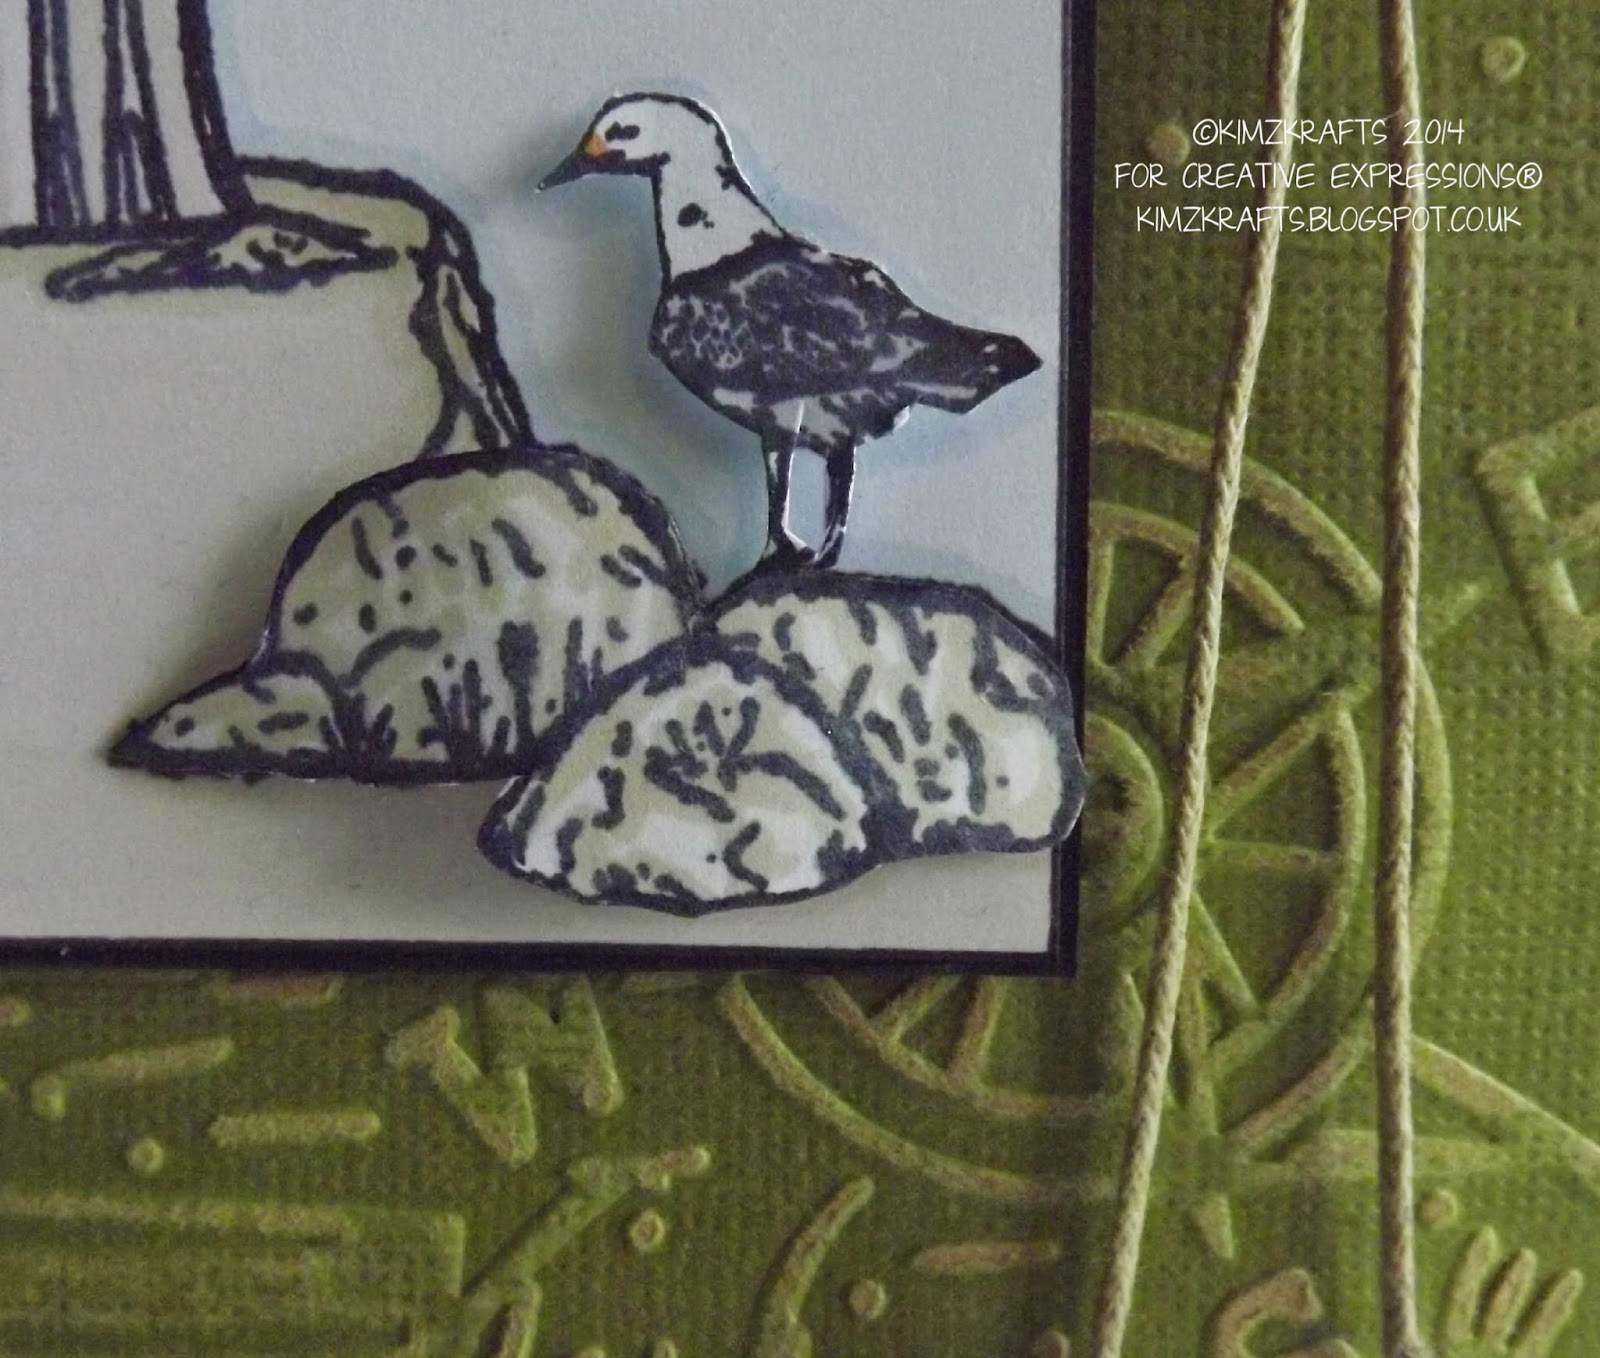
I stamped the lighthouse image with black Archival ink directly onto the whitewashed card, followed with a couple of the seagulls. Using some more Gesso I added some areas of highlight to the lighthouse, rocks and seagulls. A bit more distress ink, this time some Black Soot,  around the panel and then it was glued onto the top of the box using Cosmic Shimmer glue. I then replaced the hinges and 'lock'.


This photo looks more grey than the real thing.
Hope it isn't a camera issue!!

I hope you like the project? If you have any questions please feel free to ask me by going to the comment form. I would also love it if you could leave a comment or simply say 'Hi!'

I shall be back next week with another project. Hope to see you again then? Kim xx


Saturday, 19 July 2014

NEW STAMPS from VISIBLE IMAGE

Prepare to be amazed! The guys at Visible Image have done it again with their new launch. The stamps are in a range cunningly called INKognito. They are really different and totally awesome to work with. These top grade photopolymer stamps are all hand made, hand cut, hand packed and designed by Mark and Helen. They are deeply etched producing a great impression first time, every time. I love using these stamps, try tearing me away from my desk when there is a new batch delivered! 

So, a few days ago this arrived through my letter box, well technically it was handed to me by my Postie, who is actually called Pat! 

The Drop
No, I wasn't loitering outside waiting for Pat, I was just about to go to the beach with the dogs for a walk. Needless to say the long walk on the beach turned into a quick dash to the river and back! Sorry dogs! I don't think they noticed.

After a careful unwrapping of the goods I sat and stared at the stamps for quite some time. They were totally amazing! I had seen shots of the stamps sure, but having the little beauties on my desk was something else! Here are just a few of the ones I used - click to link direct to the shop page.

Visible Image Butterfly INKognito stamp Visible Image Heart INKognito stamp Visible Image Flower INKognito stamp

And then off I went! Paper flying, colour choices, random ideas, so much to do and so little time to do it in! It was an amazing few hours. Dare I say it? It was better than a walk on the beach!

What did I come up with? Well, I did say yesterday that I would show you the full project that I sneak-peaked so here it is.........


I then went on to make loads more cards using the flower and the heart together with some of the great wordy stamps. Pop over to the Visible Image web site and go to the blog where you will see more of my samples along with some other amazing creations from the other DT members.

Check out the Facebook group page where you can see more inspirational work. Join the group, it is easy to do! See more DT work, meet other Visible Image fans and get the inside info on future launches. 

The whole range of INKognito stamps are available to buy TODAY direct from Visible Image. Don't wait a moment longer than you need to, they are going to fly off the shelves.


In case you are still in two minds, here is another one of my other samples to tempt you. Enjoy! xx


Friday, 18 July 2014

The Friday Feature with Visible Image

It is nice to be back in the land of the interweb! It has been a strange few weeks without proper access. But I am back now and really thrilled to be bringing you The Friday Feature for Visible Image once more.


If you are a stamper then you will probably know about the fantastic publication Craft Stamper. I have been a subscriber for a long time, maybe even have the first issue somewhere in my archive. Anyway, a few months ago my 'Boss' at Visible Image asked if I would like to make something for the magazine in the section they call Stamping Contrasts. Was she kidding? Getting a project featured in any magazine is a thrill, but to have something featured in Craft Stamper magazine has got to be the best thing ever!

Naturally I said I would. She told me which stamps they wanted to use and I was left to create. Not as easy as you might think! So many ideas, so much excitement, so much to think about.

The projects were submitted and I thought no more about it. My house move took over my life and it was only when I looked in my diary that I realised 'my' issue was due out! I had moved, my post was being redirected, but I wanted to see it now! As I said, I had no internet so I had to sneak off to a Wi-Fi hotspot and download a copy of the magazine to my ipad. 


And there it was! My card. Such a strange feeling seeing it in print. It had been quite some time since I made the card so it was like seeing an old friend. 

I also made a little tag which used similar colours and the same stamps. 

For the main feature, the card, I used the 'Thinking of You' set, one of 6 designs in the More than Words group. They are really versatile and lend themselves to various occasions. You will find these stamps and many more on the Visible Image web site.


Thinking Of You 

For those of you that diligently read all the way to 'here' I am going to let you in a little secret. There are some new stamps launching tomorrow. If you are part of the Visible Image Facebook group you will have already seen some of the designs being shown over the last few days. A few of you will have been lucky enough to have won the first few stamps made and should be receiving them shortly. Like me, the other Design Team members have been working with these new stamps and boy! have we been having fun! They are wonderful stamps and really quite different. I would say they are by far the most exciting stamps I have seen in a long time and the results the DT have been getting proves that Mark and Helen, the guys behind Visible Image, have excelled themselves once again. Remember these stamps are hand made, hand cut and hand packed. They are made of top quality photopolymer and are deeply etched to give great results first time, everytime!

Here is my sneaky-peak of a card I made just this morning using one of the new stamps. OK, I know it is only the tiniest of peaks but I hope it tempts you to coming back to me tomorrow where I will reveal more!


Cheers for now! Kim x

Monday, 14 July 2014

Monday Make with Creative Expressions

Oh how I have missed doing these blogs! It is so nice to be back in the swing of things. For those of you that don't know I have undergone one of the most stressful processes a human can go through. I moved house! Check out my blog from yesterday HERE for a peak at the new place.

On to the reason for being here now. I have unpacked most of my crafty stash and of course I simply had to have a dabble with some lovely products from Creative Expressions. It is the holiday season, buckets and spades, seagulls and sandcastles. Also, I am lucky to be living on the coast now so the stamps and products I have chosen to showcase are both seasonal and personal. Hope you like them as much as I do?


I used the Lighthouse embossing folder for the background with a piece of Tim Holtz Core'dinations card which I sanded back slightly.


The stamps are from the Singles range, which are foam mounted and pre-cut. I used the Lighthouse and one of the seagulls from the Marina Bay set. These stamps are so easy to use and they produce a fantastic image. For me it was all about getting something done quickly and perfectly first time. I had missed crafting so much during the move! I simply stamped the lighthouse with black ink and coloured it with markers. A little bit of decoupage, a neat little nautical knot and job done! A nice simple card but I am sure you will agree a very pretty card. Perhaps one for a man?


This is a quick blog today as I have a lot of catching up to do, not just craft stuff. There is still lots of household unpacking to do as well as quite a few more craft related boxes need opening up and the contents need to be put in their new home. I found a great second hand furniture place in town that seems to have a good supply of office furniture. What do you think of the units I bought the other day? They came from an opticians. I love the shallow drawers, great for storing ink pads and trays of embellishments.


Right, I must away and get on with 'stuff'. See you soon for more adventures with Creative Expressions!

Take care, Kim xxx


Catching up with the MOOs

I have been very neglectful of my Moos this year and I hang my head in shame!

But.......

I have hopefully redeemed myself with a major stint of catch-up MOO-ing. My last Moo was actually produced last year, December in fact, when the theme was Snowflakes. Eeeek!

Since then there have been 14 more challenges and I have completed them all now. It was great fun working on them and I promise I shall not leave it so long again!

I will start with the current challenge which is Buttons. Did you know that some people have a fear of buttons? It is called Koumpounophobia. Hard to pronounce but even harder to live with such a condition I would imagine. Anyway, here is MOO #65


And if you want to see my other 13 MOOs then here they all are........

#52 Birds, #54 Embossing Powder, #55 Old Book Pages,
#56 London, #57 Childhood

#60 Shoes, #53 Africa

#58 Togetherness, #61 Mail/Post, #62 Corrugated Card,
#64 The Movies

#59 Triptych, #63 Feathers


So there we are, all up to date now! Hope you enjoy looking at them? I had a huge amount of fun selecting the images and making them all.

See you again next week for the next challenge. I wonder what the theme will be......

Kim xxxx


Sunday, 13 July 2014

The Wanderer Returns!

Well Hello! It has been ages since I last blogged. It has been a very strange few weeks for me. I have finally moved house; long story, many ups and downs, won't bore you with it! The good news is that I am finally 'here' where I wanted to be all those months ago when I first saw this house up for sale.

The hardest thing, other than the move of course, was the difficulty I had crafting, or rather NOT crafting! I packed my stash thinking it would only be a few weeks before I would get set up in my new craft room, but things didn't turn out that way! It was really frustrating having the boxes there glaring at me, teasing me with their contents! Every magazine article I saw, every inspiration I had had to be ignored. It was torture.

But that was then and this is now! Here I am, internet set up, blog being written and crafting resumed.

I have missed my Design Team duties for a few weeks now but rest assured I will be doing my usual blogs for Creative Expressions on a Monday and the Friday Feature for Visible Image. 

I have to say a big Thank You to both for allowing me to have such a long leave of absence and to both of you I promise I will make up for lost time.

This is not really a crafting blog today, it is more of an easing back into writing and generally touching base with you all again.

Perhaps it would be nice for you to see where I now live, do you mind if I indulge in a little show and tell?

The house is over 3 floors and my mum and dad have moved here with me. Hubby and youngest son are still back in Buckinghamshire while our son finishes school. I suppose you could say I am retired now as I don't plan to work again, but trust me there is no sitting about watching daytime TV in this house! Lots of exciting things to do but the most important thing, other than crafting, is getting the upper floor ready. This is going to be a holiday let. Keep your eyes peeled for the new web site coming as soon as the place is ready! 


I have always wanted to live by the sea so guess what? Just down the road is the beach, a lovely wide expanse of sand and shallow water. I am loving the ruralness (is that even a word?) after spending over 20 years in a large city. Thank goodness for the internet mind you, I have only just got back on-line after a 2 week wait. The City Girl in me still needs to shop!


As for the craft room, well it is still a work in progress but the essentials are out and have been used already. Making what? You will have to come back tomorrow to see...............Kim xx